Guides - Deploy Mastodon through the Linode Marketplace
Quickly deploy a Compute Instance with many various software applications pre-installed and ready to use.
Mastodon is an open-source and decentralized micro-blogging platform used to create a social network based on open web standards and principles. Like Twitter, it lets users follow other users and post text, photos, and video content. Unlike Twitter, Mastodon is decentralized, meaning that its content is not maintained by a central authority.
The Mastodon platform takes a federated approach to social networking. Each Mastodon instance operates independently — anyone can create an instance and build their community. Users from different instances can still follow each other, share content, and communicate. Mastodon participates in the Fediverse, a collection of social networks and other websites that communicate using the ActivityPub protocol. That allows different Mastodon instances to communicate and also allows other platforms in the Fediverse to communicate with Mastodon.
Mastodon servers range in size from small private instances to massive public instances and typically center on specific interests or shared principles. The biggest Mastodon server is Mastodon.social, a general-interest server created by the developers of the Mastodon platform. It has over 540,000 users and boasts a thorough Code of Conduct.
Deploying a Marketplace App
The Linode Marketplace allows you to easily deploy software on a Compute Instance using the Cloud Manager. See Get Started with Marketplace Apps for complete steps.
Log in to the Cloud Manager and select the Marketplace link from the left navigation menu. This displays the Linode Create page with the Marketplace tab pre-selected.
Under the Select App section, select the app you would like to deploy.
Complete the form by following the steps and advice within the Creating a Compute Instance guide. Depending on the Marketplace App you selected, there may be additional configuration options available. See the Configuration Options section below for compatible distributions, recommended plans, and any additional configuration options available for this Marketplace App.
Click the Create Linode button. Once the Compute Instance has been provisioned and has fully powered on, wait for the software installation to complete. If the instance is powered off or restarted before this time, the software installation will likely fail.
To verify that the app has been fully installed, see Get Started with Marketplace Apps > Verify Installation. Once installed, follow the instructions within the Getting Started After Deployment section to access the application and start using it.
- Supported distributions: Debian 11
- Recommended minimum plan: 2GB Shared CPU Compute Instance or higher
Configuration Options
- Domain (required): The domain name you wish to use for the mastodon server, such as example.com.
- Linode API Token (required): A personal access token for your account. The Linode API is used to create DNS records for your custom domain through the DNS Manager. See Get an API Access Token.
- Email for the Let’s Encrypt certificate (required): The email you wish to use when creating your TLS/SSL certificate through Let’s Encrypt. This email address receives notifications when the certificate needs to be renewed.
- Username for the Mastodon Owner (required): The username for the Owner user that will be created for the Mastodon server.
- Email Address for the Mastodon Owner (required): The contact email for the Mastodon server’s owner.
- Single-user mode (required): Enabling Single User Mode prevents other users from joining the Mastodon Server.
Getting Started after Deployment
Configure Your Domain’s Name Servers
To use Mastodon with the custom domain you specified during deployment, you must configure the domain to use Linode’s name servers. This is typically accomplished directly through your registrar. See Use Linode’s Name Servers with Your Domain.
View the Mastodon Site
Open a web browser and navigate to the custom domain you entered when deploying Mastodon. This opens the Explore page in Mastodon, which displays public information about your site, public posts, and links to login or create an account.
Access Your Mastodon Account and Settings
Obtain and save passwords that were generated on your behalf during deployment, including your Mastodon user’s password.
Log in to your new Compute Instance through Lish or SSH using the
rootuser and the associated password you entered when creating the instance.The passwords have been saved in the /root/.deployment-secrets.txt file. You can view this file in your preferred text editor or through the
catcommand:cat /root/.deployment-secrets.txtThe file contains your PSQL password and user’s (owner’s) password.
- File: /root/.deployment-secrets.txt
1
2
3
4
5
6
# BEGIN ANSIBLE MANAGED BLOCK # PSQL password password: WiLjKhJSZE01TW3AoqViN3Kglu2bidWt # Owner password password: 3c4a675311ee52c0c1d7173d5169a10d # END ANSIBLE MANAGED BLOCK
Log in to Mastodon. Within a web browser, navigate to
https://[domain.tld]/auth/sign_in, replacing [domain.tld] with the custom domain you entered when deploying Mastodon. This opens the login page. Enter the owner’s email address you created and the password that you obtained in the previous step. Once logged in, your user’s home page is opened, which displays your own timeline, the post creation form, and links to navigate around.

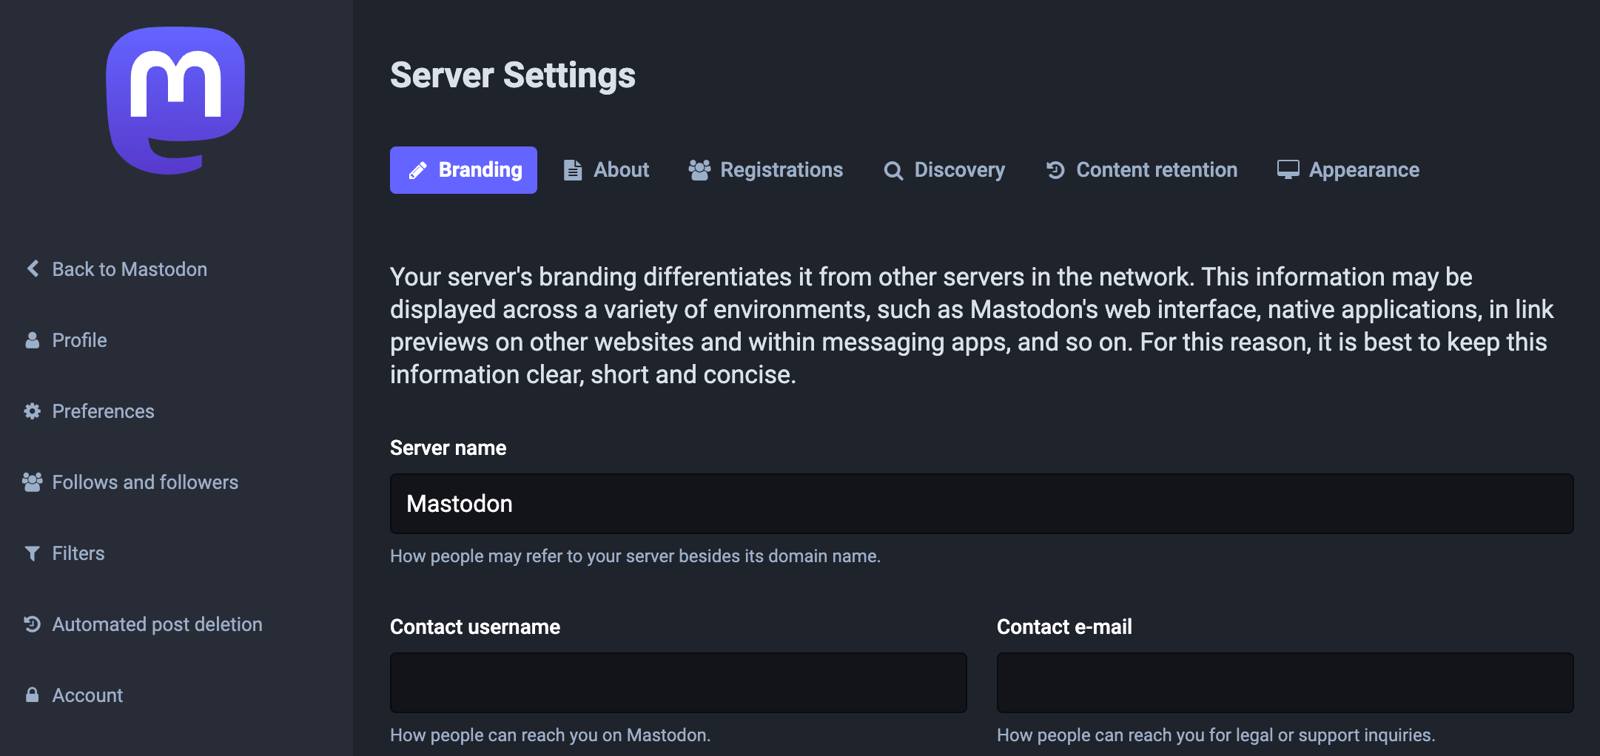
Access admin settings. Navigate to
https://[domain.tld]/admin/settings/to view your site’s administration settings. The administration page allows you to alter the look, feel, and behavior of your site. Consider configuring each of these settings, including the site name, contact username, contact email, server description, and fields within other tabs.

The Mastodon instance also includes Sidekiq (background processing) and PgHero (a performance dashboard for Postgres). Both of these can be accessed through Mastodon Preferences page or by navigating to the following URLs:
- Sidekiq:
https://[domain.tld]/sidekiq - PgHero:
https://[domain.tld]/pghero
- Sidekiq:
The Mastodon server is configured to send emails for actions such as new users signing up or resetting a password. The installation includes only minimal DNS records and there may be limited deliverability without further configuration. Review the guide to Sending Email on Linode for more information on DNS configurations and email best practices.

To learn more about Mastodon, check out the official documentation and Mastodon blog with news and articles related to Mastodon. You can engage with the Mastodon administrative community on Mastodon’s discussion forum, where you can peruse conversations about technical issues and community governance. When you are ready to make your instance known to the world, you can add it to the list over at Instances.social by filling out the admin form.
More Information
You may wish to consult the following resources for additional information on this topic. While these are provided in the hope that they will be useful, please note that we cannot vouch for the accuracy or timeliness of externally hosted materials.
This page was originally published on